This step-by-step guide will help you set up and schedule your first auto-post to Instagram.
You took the biggest hurdle already by signing-up for Preppr and now you are about to win back your most valuable asset “Time”.
In just a few minutes you will be all set.
Here we go!
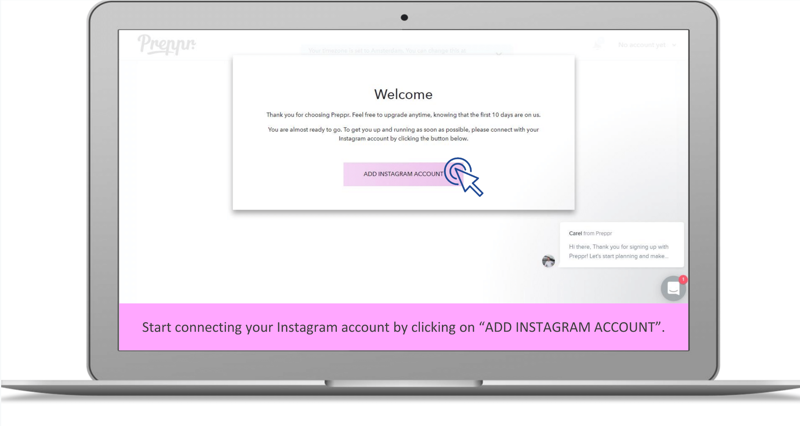
Start connecting your Instagram account by clicking on “ADD INSTAGRAM ACCOUNT”.
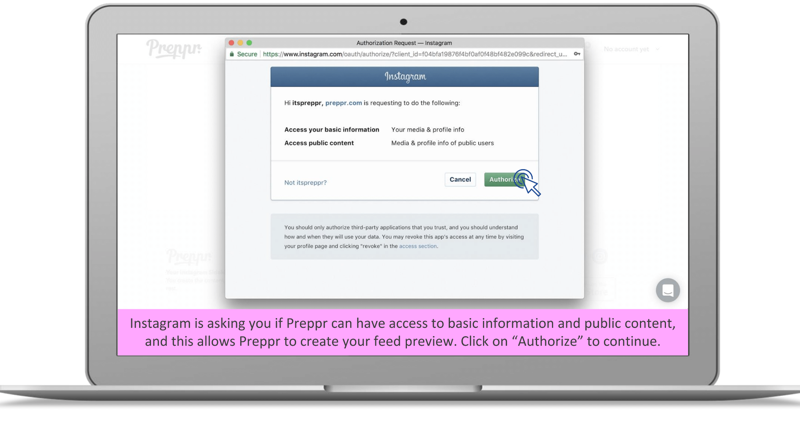
Instagram is asking you if Preppr can have access to basic information and public content, and this allows Preppr to create your feed preview. Click on “Authorize” to continue.
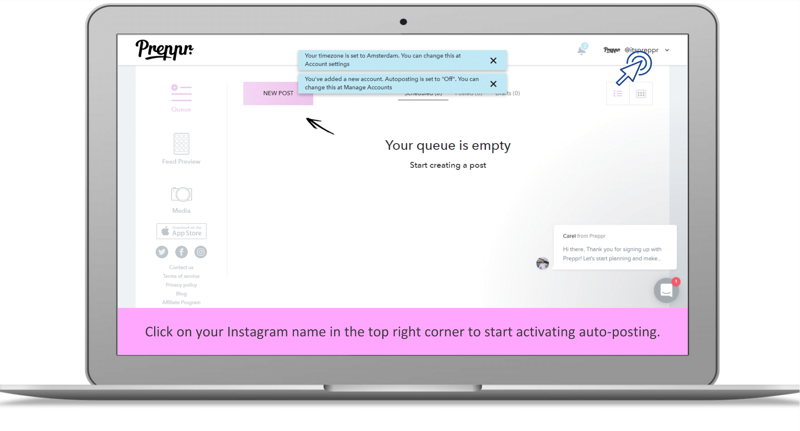
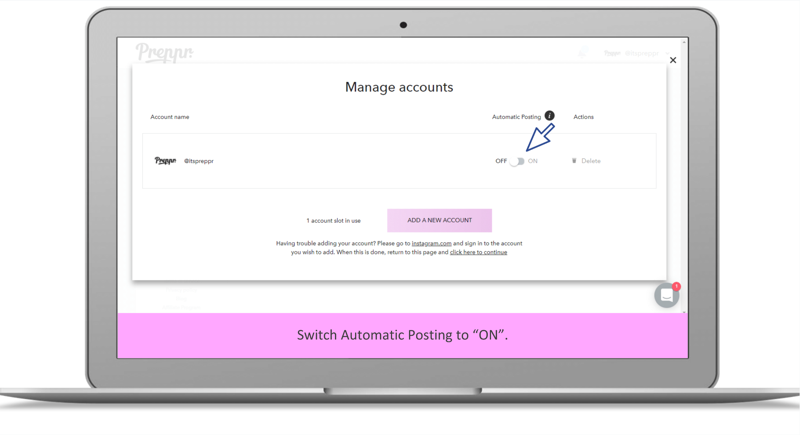
Click on your Instagram name in the top right corner to start activating autoposting.
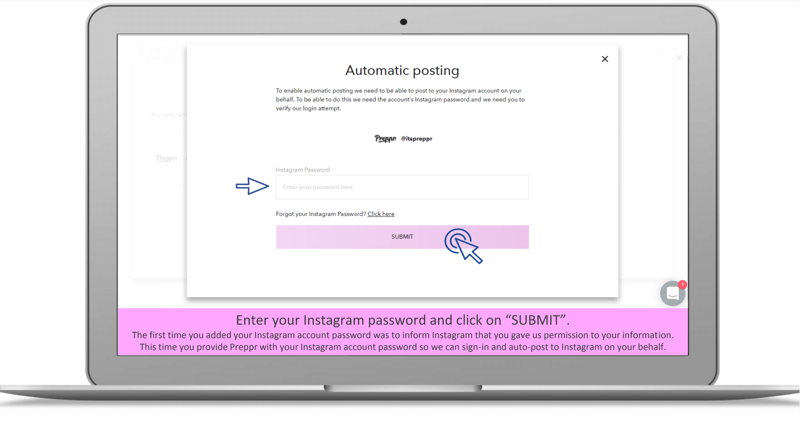
The first time you added your Instagram account password was to inform Instagram that you gave us permission to your information. This time you provide Preppr with your Instagram account password so we can sign in and auto-post to Instagram on your behalf.
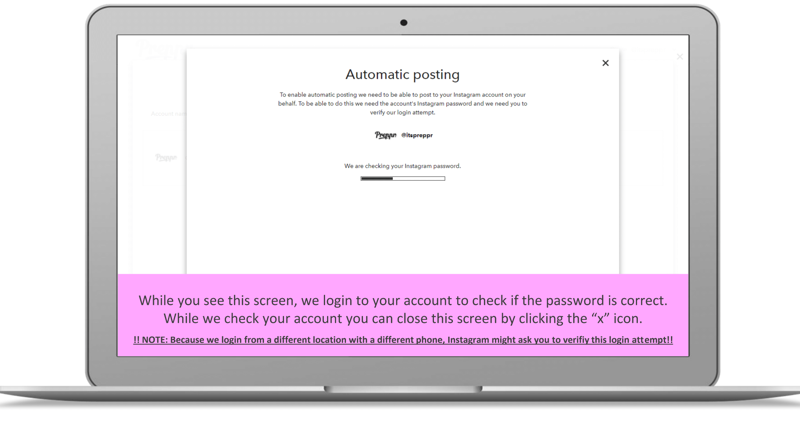
While you see this screen, we login to your account to check if the password is correct. While we check your account you can close this screen by clicking the “x” icon. !!
NOTE: Because we login from a different location with a different phone, Instagram might ask you to verify this login attempt!!
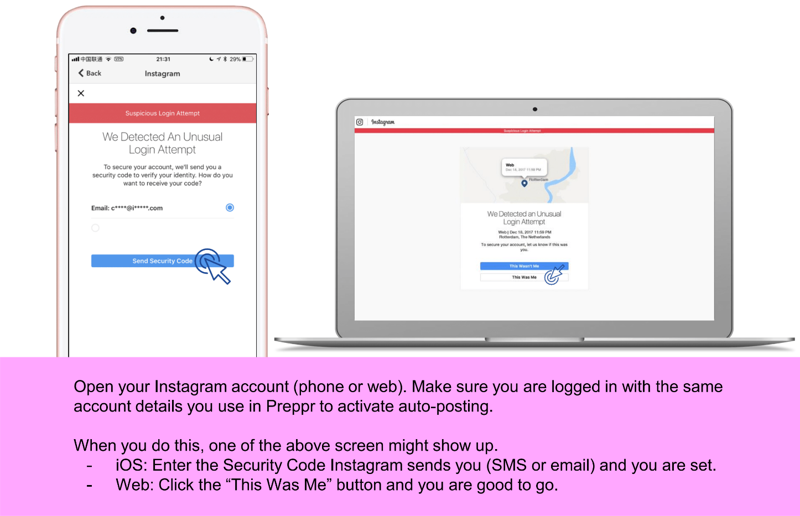
Make sure you are logged in with the same account details you use in Preppr to activate auto-posting.When you do this, one of the above screen might show up.
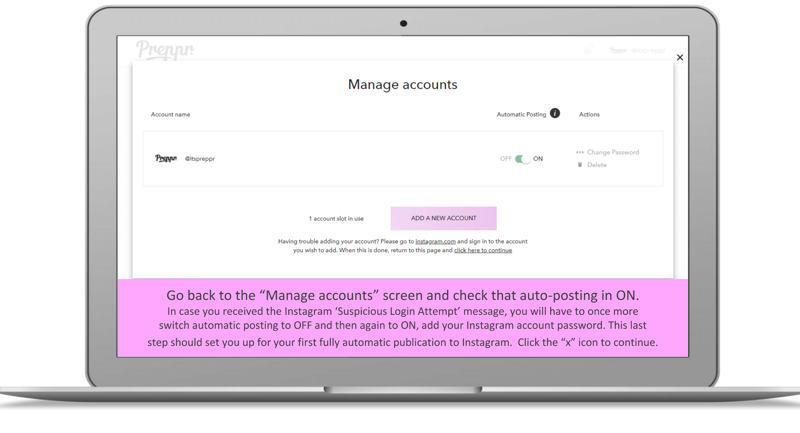
Go back to the “Manage accounts” screen and check that auto-posting in ON. In case you received the Instagram ‘Suspicious Login Attempt’ message, you will have to once more switch automatic posting to OFF and then again to ON, add your Instagram account password. This last step should set you up for your first fully automatic publication to Instagram. Click the “x” icon to continue.
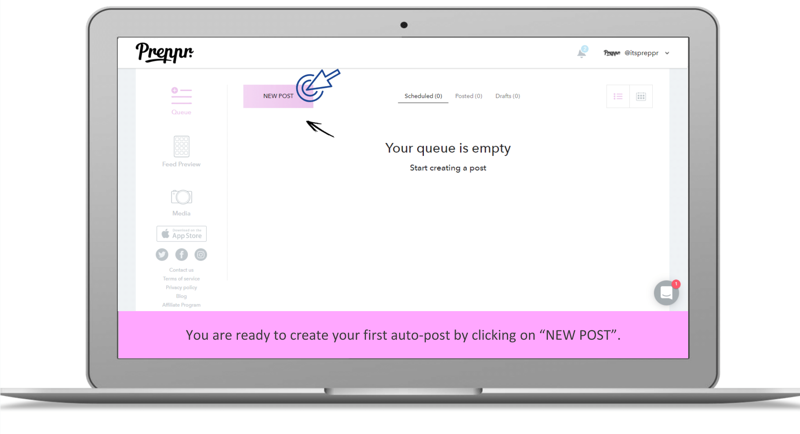
You are ready to create your first auto-post by clicking on “NEW POST”.
Download our complete visual manual.